This guide helps you understand how to use Right Networks integration after the installation process. For instructions on how to connect and integrate with QuickBooks Desktop via Right Networks please click here.
This guide provides you a list of functionalities you can perform when integrating QuickBooks Desktop with Dext Prepare using Right Networks.
Note: The Right Networks integration is available in the United States.
System Requirements:
Operating System: Windows 7 and above
Usage statistics:
Publishing: Up to 30 receipts per client at a time
Average publishing time per receipt: 90 seconds
Average resource fetching time: 60 seconds
Syncing with QuickBooks Desktop using Right Networks
Note: After the initial sync, Right Networks users must manually sync lists with QuickBooks Desktop within Dext Prepare if wanting to publish.
You can sync the following to or from Right Networks using your Dext Prepare account, by going to the lists section in the sidebar:

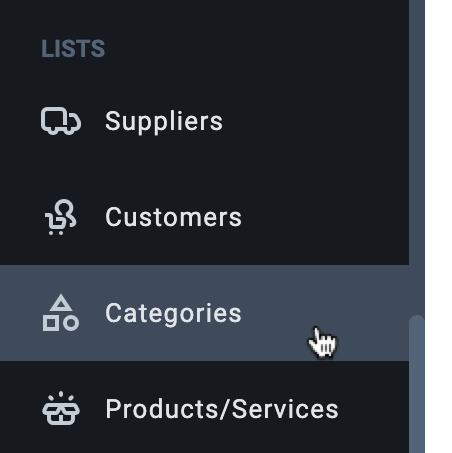
- Categories: You can find this in the navigation sidebar under ‘Lists’, and then ‘Categories’. You will find your Chart of Accounts that has imported from QuickBooks Desktop here.
- Suppliers: You can find this in the navigation sidebar under ‘Lists‘ and then ‘Suppliers‘. You will find all the suppliers that have imported from QuickBooks Desktop here.
- Customers: You can find this in the navigation sidebar under ‘Lists‘ and then ‘Suppliers‘. You will find all the customer that have imported from QuickBooks Desktop here.
- Projects: You can find this in the navigation sidebar under ‘Lists‘ and then ‘Projects‘. You will find all the projects that have imported from QuickBooks Desktop here.
- Bank Accounts: You can find this in the navigation sidebar under ‘Lists‘ and then ‘Bank Accounts‘. You will find all the Bank Accounts that have imported from QuickBooks Desktop here.
Uploading and Publishing items
Upload receipts, invoices, or any other financial paperwork to Dext Prepare using any of our Submission Methods. While the documents are uploading, the platform will extract all of the available data and present it in the Inbox.
Click on the item ‘Type’ (such as Receipt, Invoice, Credit Note, etc.) to access the Item Details page, where all of the documents’ extracted information is available to view and edit. Review your transactions and fill in any missing details that will help complete your records.
When you’re ready, you can publish the item to the Bills section of QuickBooks Desktop using any of the green ‘Publish’ buttons.
Note: The item will be showing as unpaid in QuickBooks Desktop, so you would need to pay these before reconciling.
You can publish the following items to Right Networks:
- Expense Reports
- Paid and unpaid Items
- Credit notes and refunds
- Line items
Reconciling in QuickBooks Desktop using Right Network
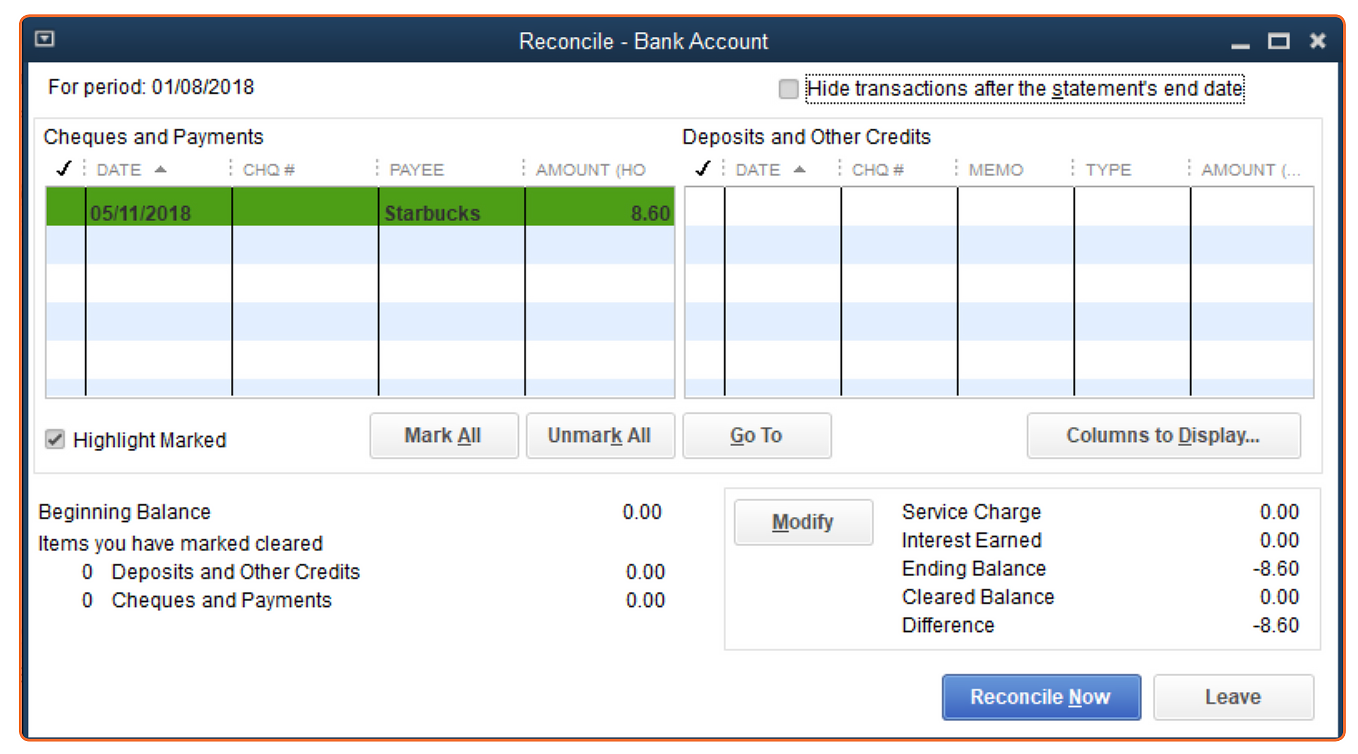
In QuickBooks Desktop, once your transactions have been marked as paid, they’ll be available to reconcile from the Banking>Reconcile menu.
