Manage multiple business accounts via one set of login details.
Do you need multiple Dext Prepare accounts for your multiple businesses? You can use one set of login details to access multiple Dext Prepare business accounts.
- What is Multi-account Management?
- Adding a New Business
- Email Verification
- Merging Accounts
- Navigating between Businesses
- Inviting an Existing User to Your Account
What is Multi-account Management
Multi-account management allows you to access and manage multiple business accounts via one login. Enabling you to easily navigate between your business accounts from within your Dext account.
To create multiple accounts for your multiple businesses you can create additional business accounts from within your existing Dext Prepare account.
If you have multiple business accounts already and access them via different logins you can also merge these login details, while all the data in your separate businesses remain untouched.
Simply verify the email address you wish to keep using, merge your accounts under the one email address and easily navigate between your business accounts with ease from within your Dext account.
Important to know: You can only merge your own login details, as you’ll be merging your other logins into the one you are logged into. After the merge, your main login details will be the access point to all your businesses/practices.
Adding a New Business
You can also create additional accounts if you have multiple businesses you wish to add to Dext Prepare.
To add a new business:
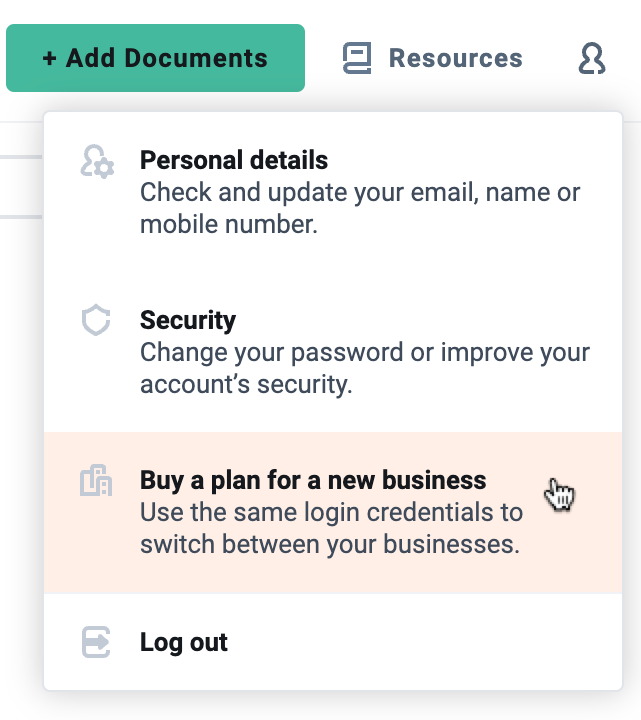
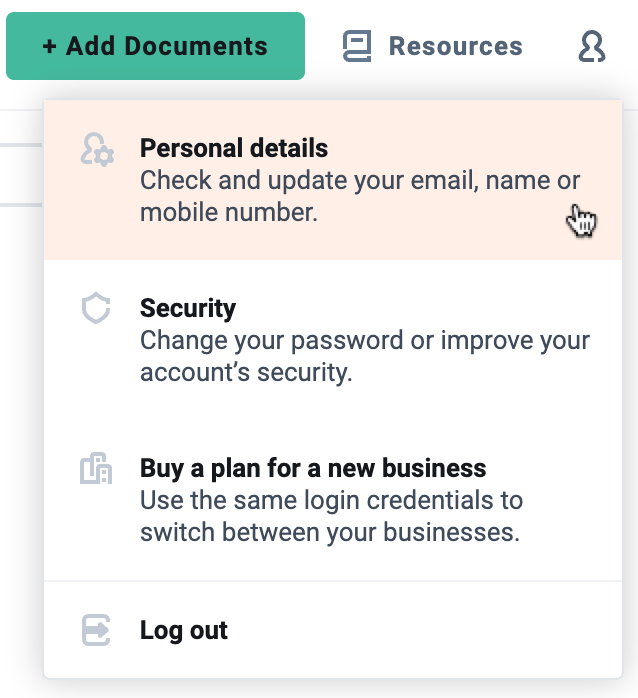
- In your Dext Prepare account, go to the Profile Icon in the top right of the screen, then go to Buy a plan for a new business.
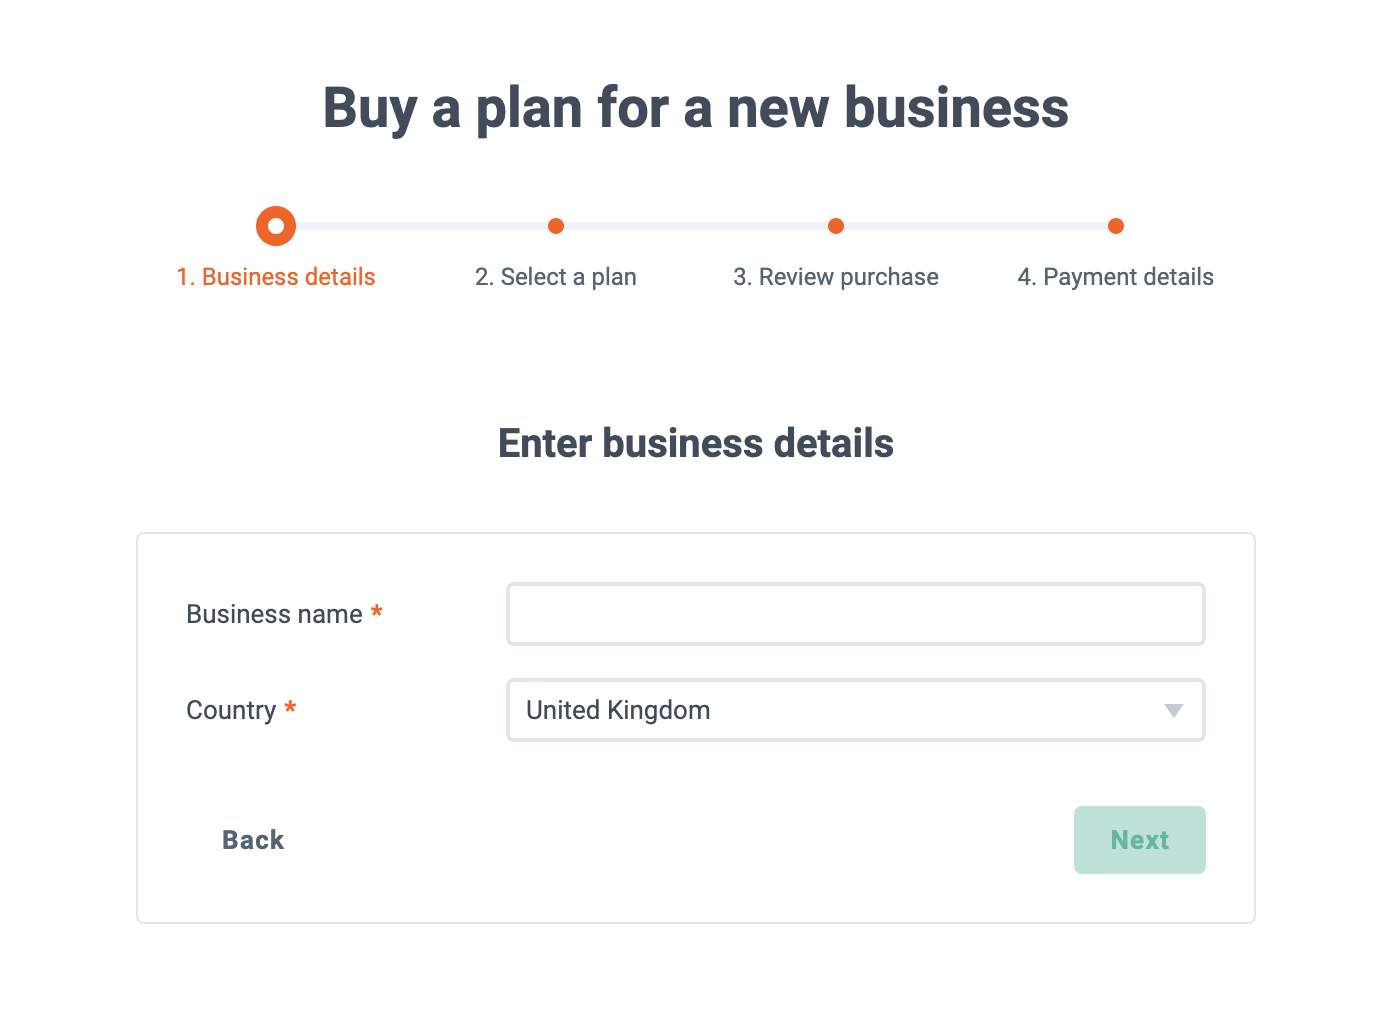
- On the next page, enter the business name, and select the country in which it is based. When ready click Next.
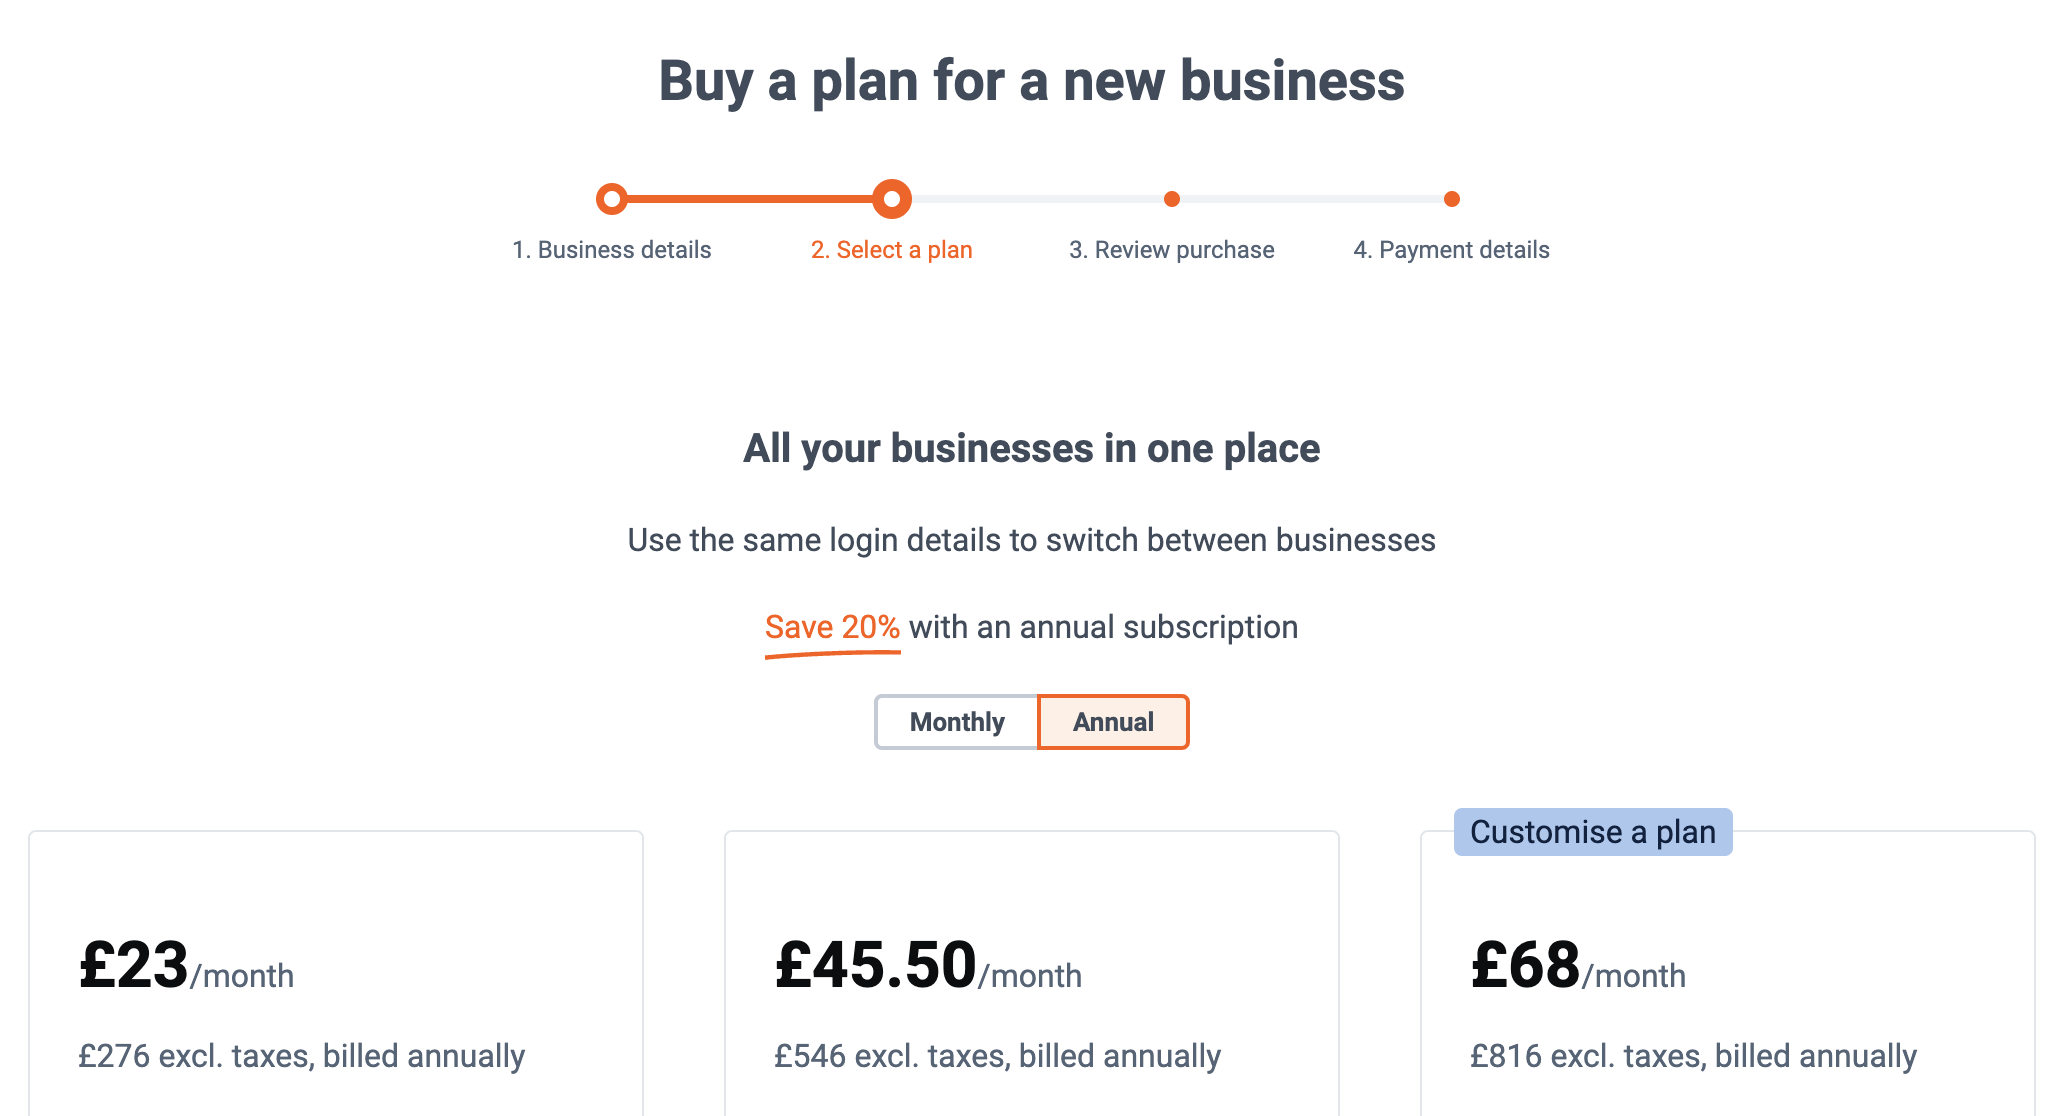
- Next, select the Dext Prepare monthly or annual plan you want, then click Next.
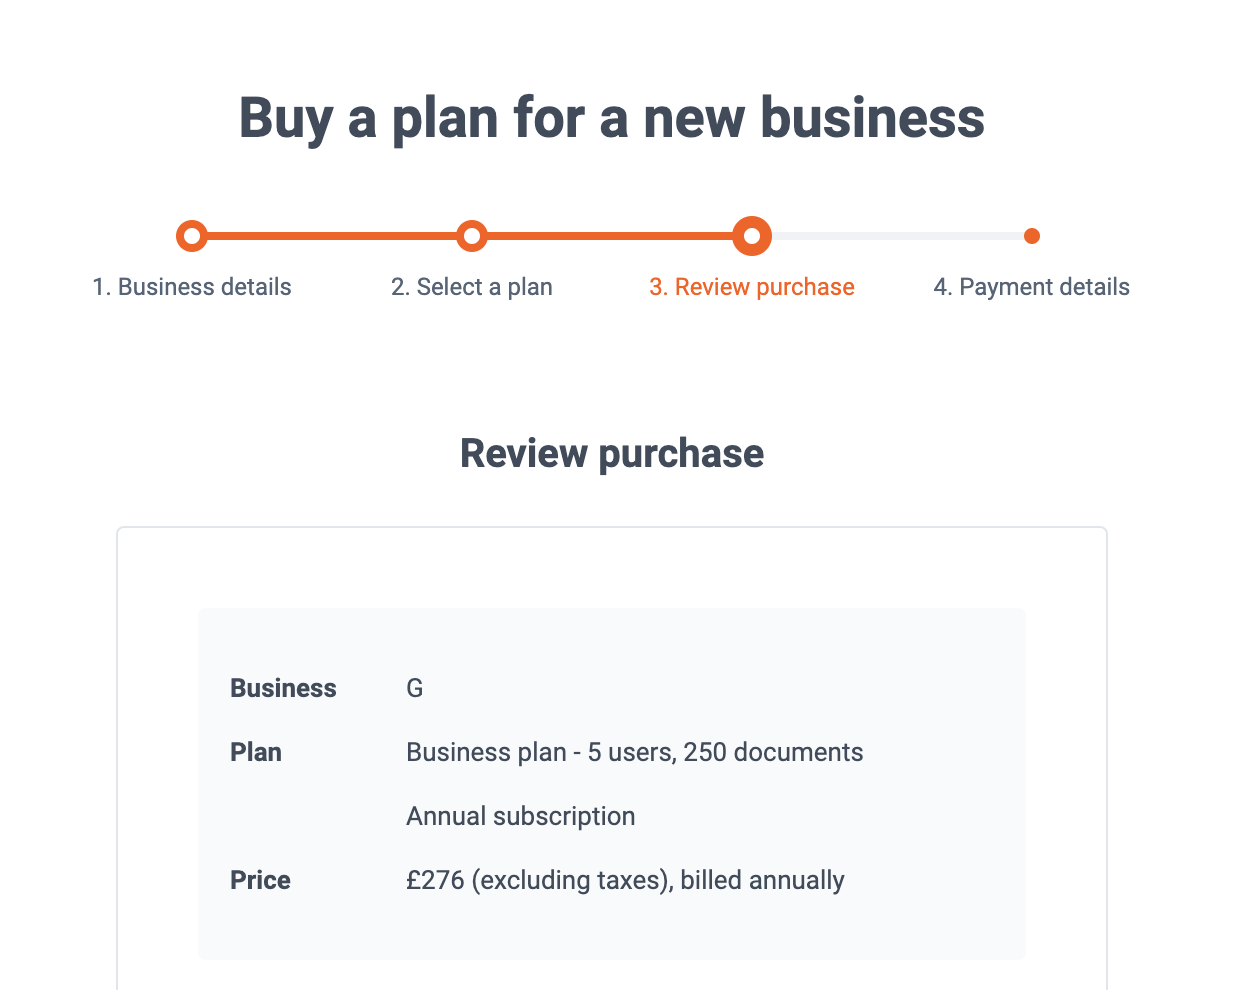
- In the final two steps, review the purchase, then confirm your payment details.
Email Verification
Merging multiple login details requires that the email address you choose to use as your only email address going forward is verified.
- If the email address you’re logged in with is unverified, you’ll automatically be prompted to verify your email first.
- If your email is already verified this step will be skipped.
To verify your email:
- Log in to the web app with the login details you wish to keep as your unique log in credentials.
- Go to the Profile icon in the top right of the screen, then Personal Details.
- There will be a banner at the top of the page. Click the Resend confirmation email link.

If you don’t see the banner, it means that your email has already been verified.
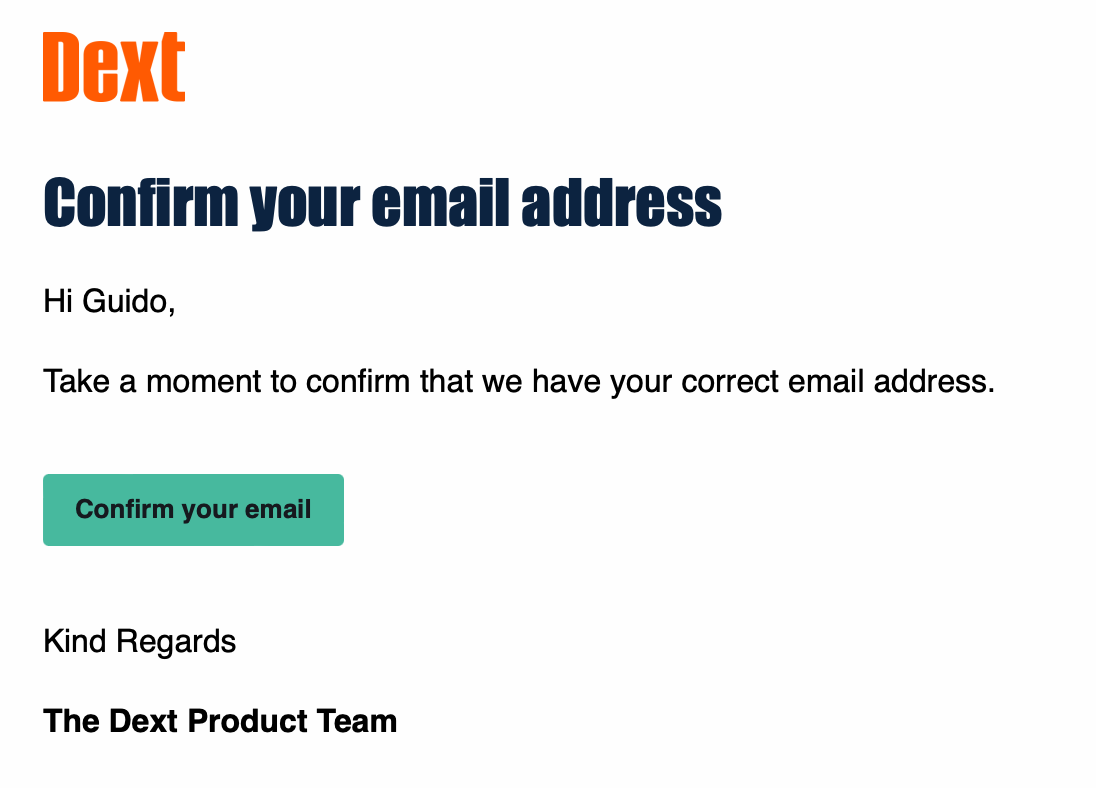
- A confirmation email will be sent to your email address. Click Confirm your email to complete the process.
Merging Accounts
To merge accounts:
- Log in to the web app with the login details you wish to keep as your unique log in credentials.
- Go to the Profile icon in the top right of the screen, then Personal Details.
- Go to Merge logins and click the ‘Merge your login details so you can have a single login for Dext‘ link.

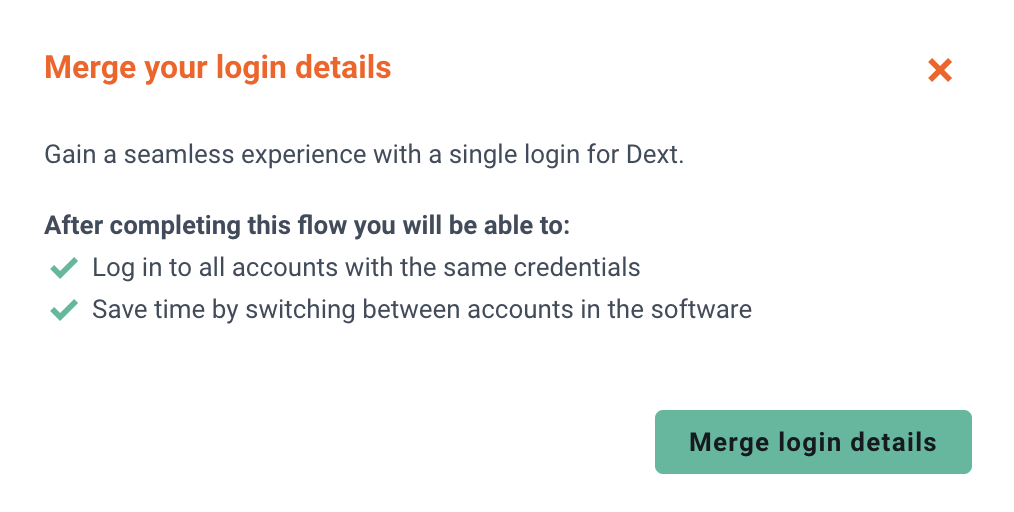
- Read the explanation of what merging accounts will do, then click Merge login details.
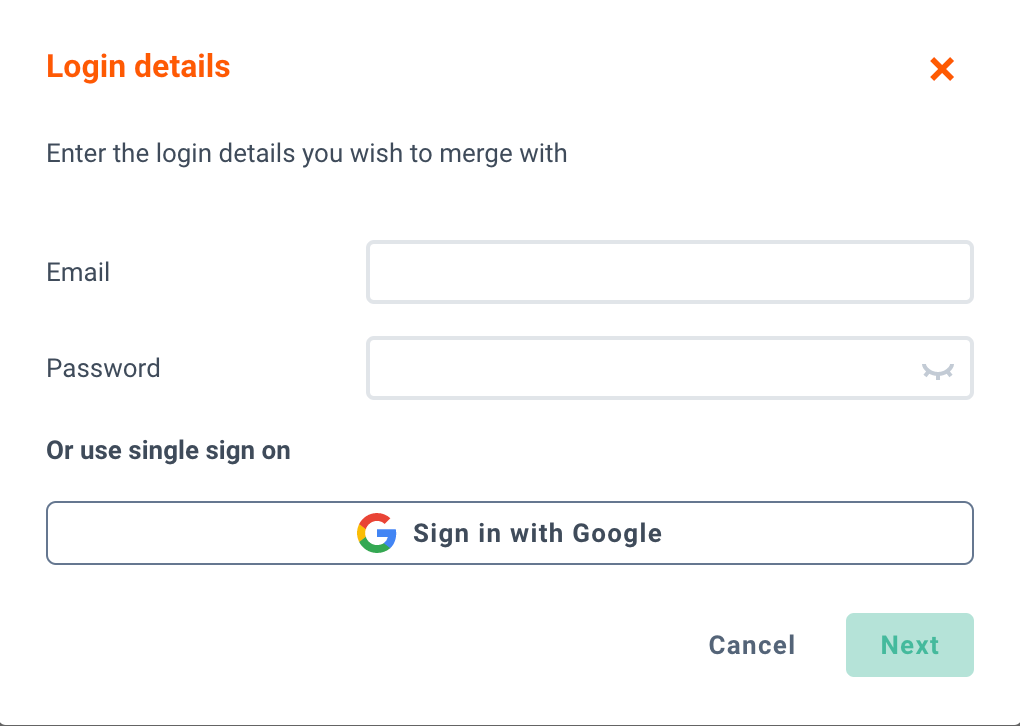
- Enter the login details for the account you wish to merge into the one you’re currently logged into or use single sign on, then click Next.
- On the final step, we’ll ask you to Confirm the merge. This will mean:
- The login details for the account that’s being merged are deleted, including any potential single sign-on you might have used to access that account (e.g. Google).
- The lists of accounts you’ll be able to access with your current email address.
- Confirm that the merge only affects how you log into this account and not the data within that account.

Navigating between Businesses
Once your accounts are merged, you can easily switch between accounts in both the web and mobile apps with the account switcher.
In the Web app:
To navigate between different accounts:
- Go to the Account Switcher drop down in the top left of the page.
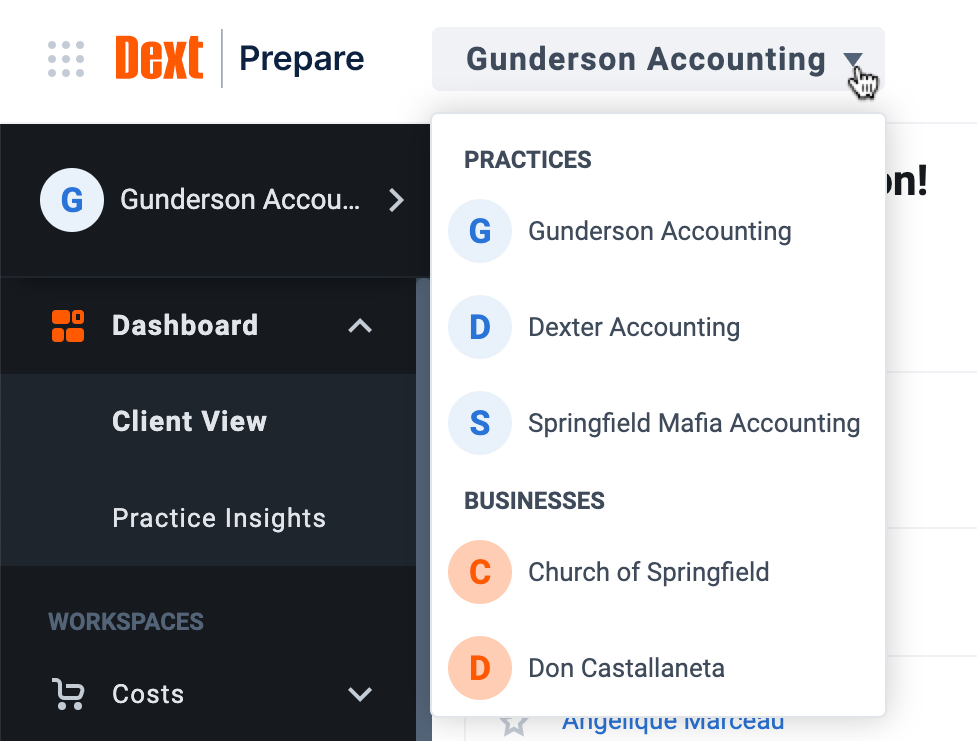
- Then click the Business you would like to switch to.
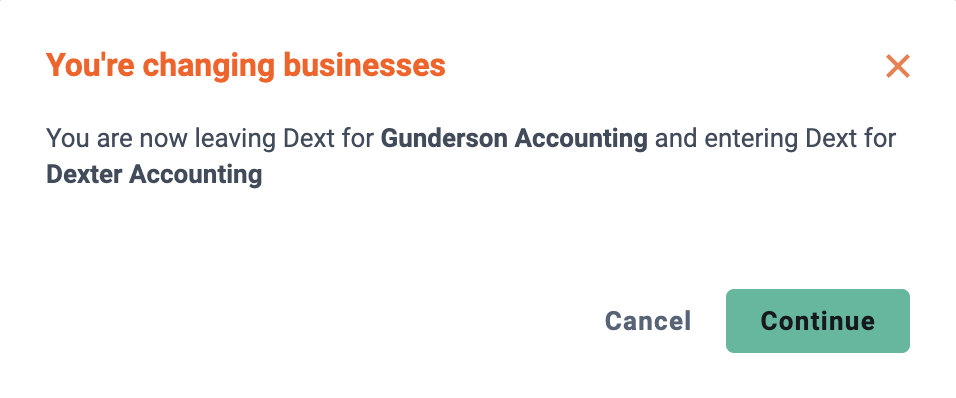
- Click Continue to confirm you’d like to switch accounts.
In the Mobile App:
To navigate between different accounts:
- Go to the Account Switcher icon in the top right of the screen.
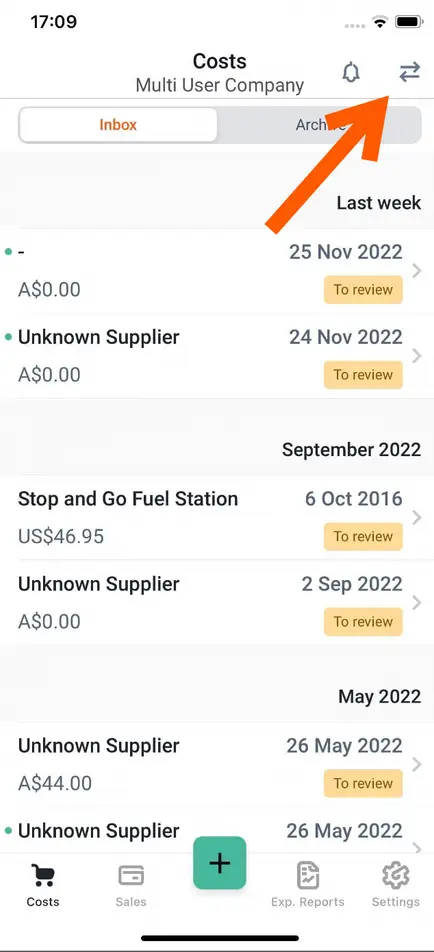
- Select the Business you wish to switch to from the list shown.
Inviting an Existing User to Your Account
You can also invite existing Dext users to your accounts, which means each user can be part of multiple businesses or practices.
To invite an existing user:
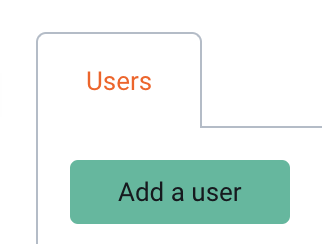
- Go to My Team in the sidebar.
- Then click Add a user.
Adding multiple users is not yet supported.
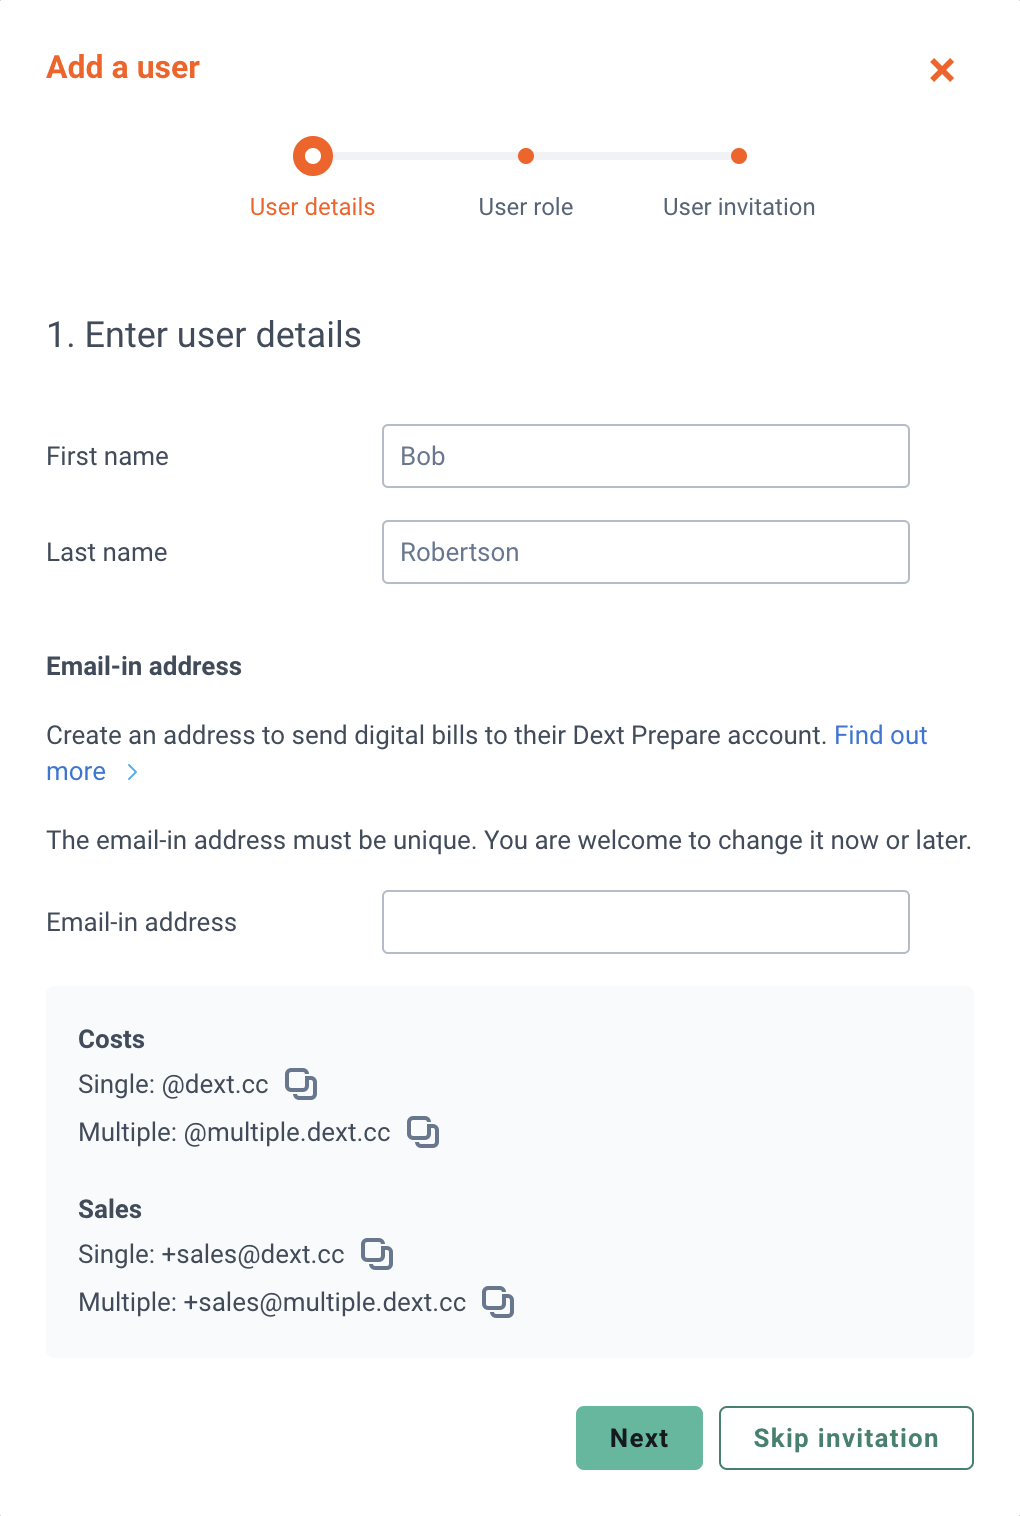
- Enter the User’s first & last name. Then create an email-in address for the user. When ready click Next.
Important: This isn’t their person email address they will use to log into their account, but an email-in address that they will use to add documents to Dext Prepare via email.
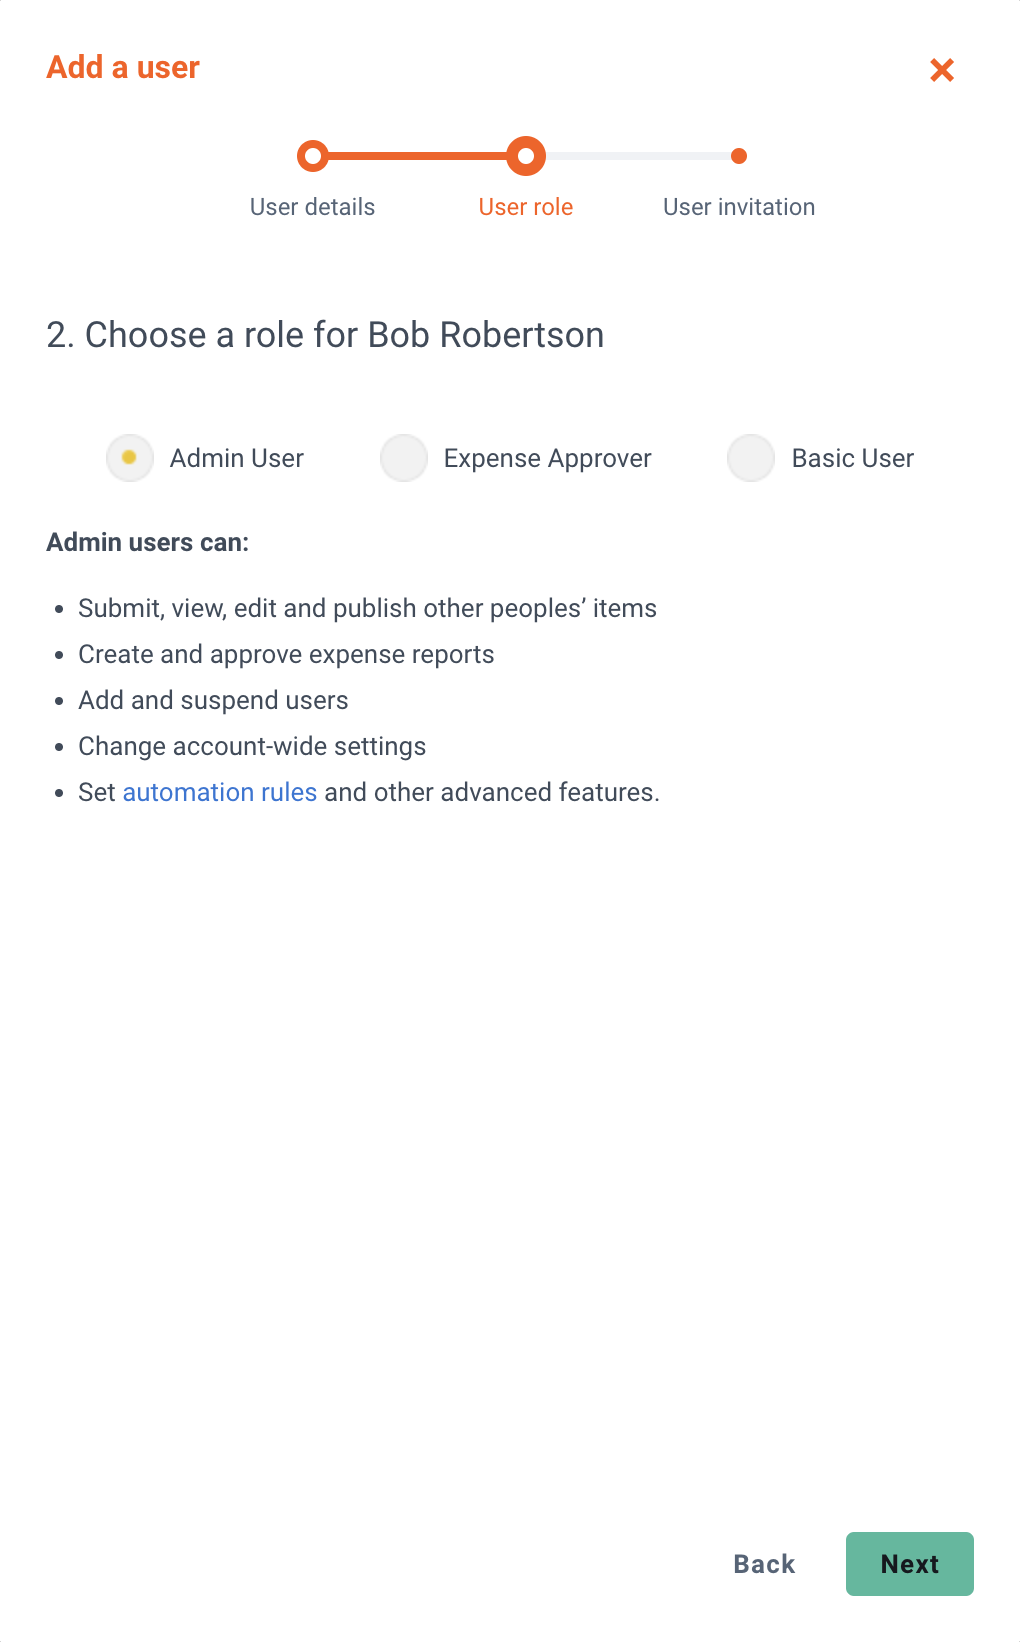
- Then select the User privilege level you wish to assign to the user. Then click Next.
- And finally, select whether to invite the user by email and/or text and enter the user’s email address and phone number. When ready click Add user to send an invitation to the user.
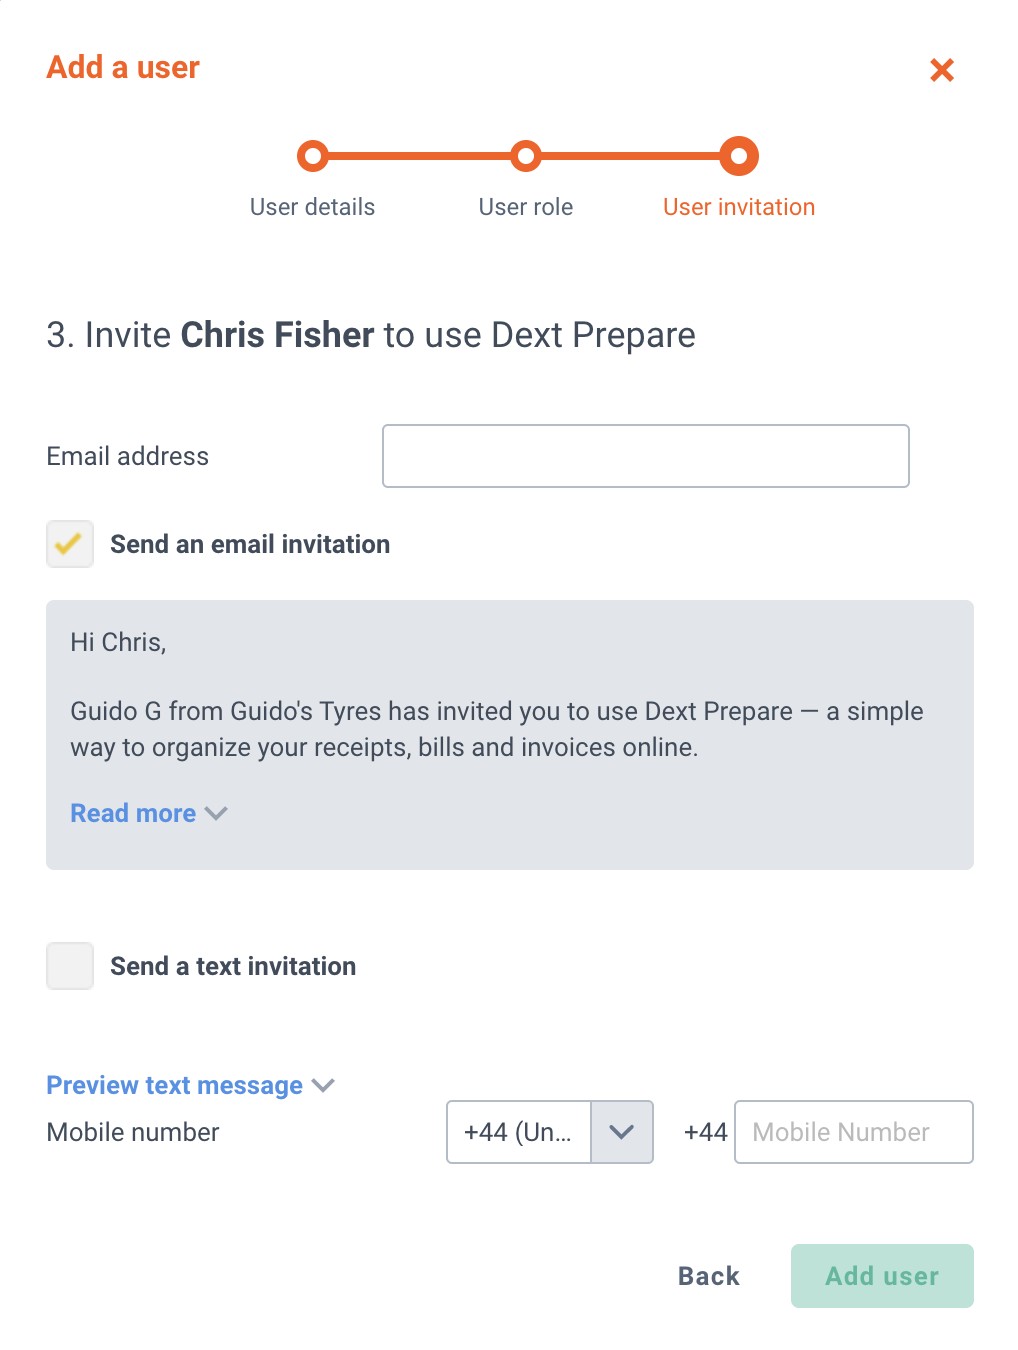
Note: SMS will only be sent if the email attached to the account is verified.
The user will then receive an invitation to join your business:
- If the user you’ve invited has already verified their email address they will automatically be added to your account and they will see the account switcher when they next log into their account.
- If the user you invited hasn’t verified their email address yet, their invitation status will show as ‘Pending invitation’ on the My Team page. The invitation will be active for 1 week.
- Users with unverified email addresses will be created as document owners only until they accept the invitation. This means that you will be able to submit documents on their behalf but they will not be able to do so themselves, or be able to see the account switcher, until they accept the invitation. If they accept the invitation it will also verify their email address.
You can resend the invitation from the Manage dropdown, or Cancel invitation if needed when it’s still in the pending state (for instance if you misspelled the email address or invited the user by mistake).

Note: Once the user has accepted the invitation, their email address will be verified and you will no longer be able to change their email address or password (the user will be able to do so themselves).