Use the Dext Prepare web app to upload your costs and sales items to your account. You can upload items as single files or multiple files in bulk to save you time.
How to Upload Costs & Sales Documents
To upload a costs or sales document:
- In the web app, click the green + Add Documents button at the top of the page.

- The Add Documents panel will then appear on the right hand side of your screen. Make sure the Costs or Sales tab is selected at the top of the panel.
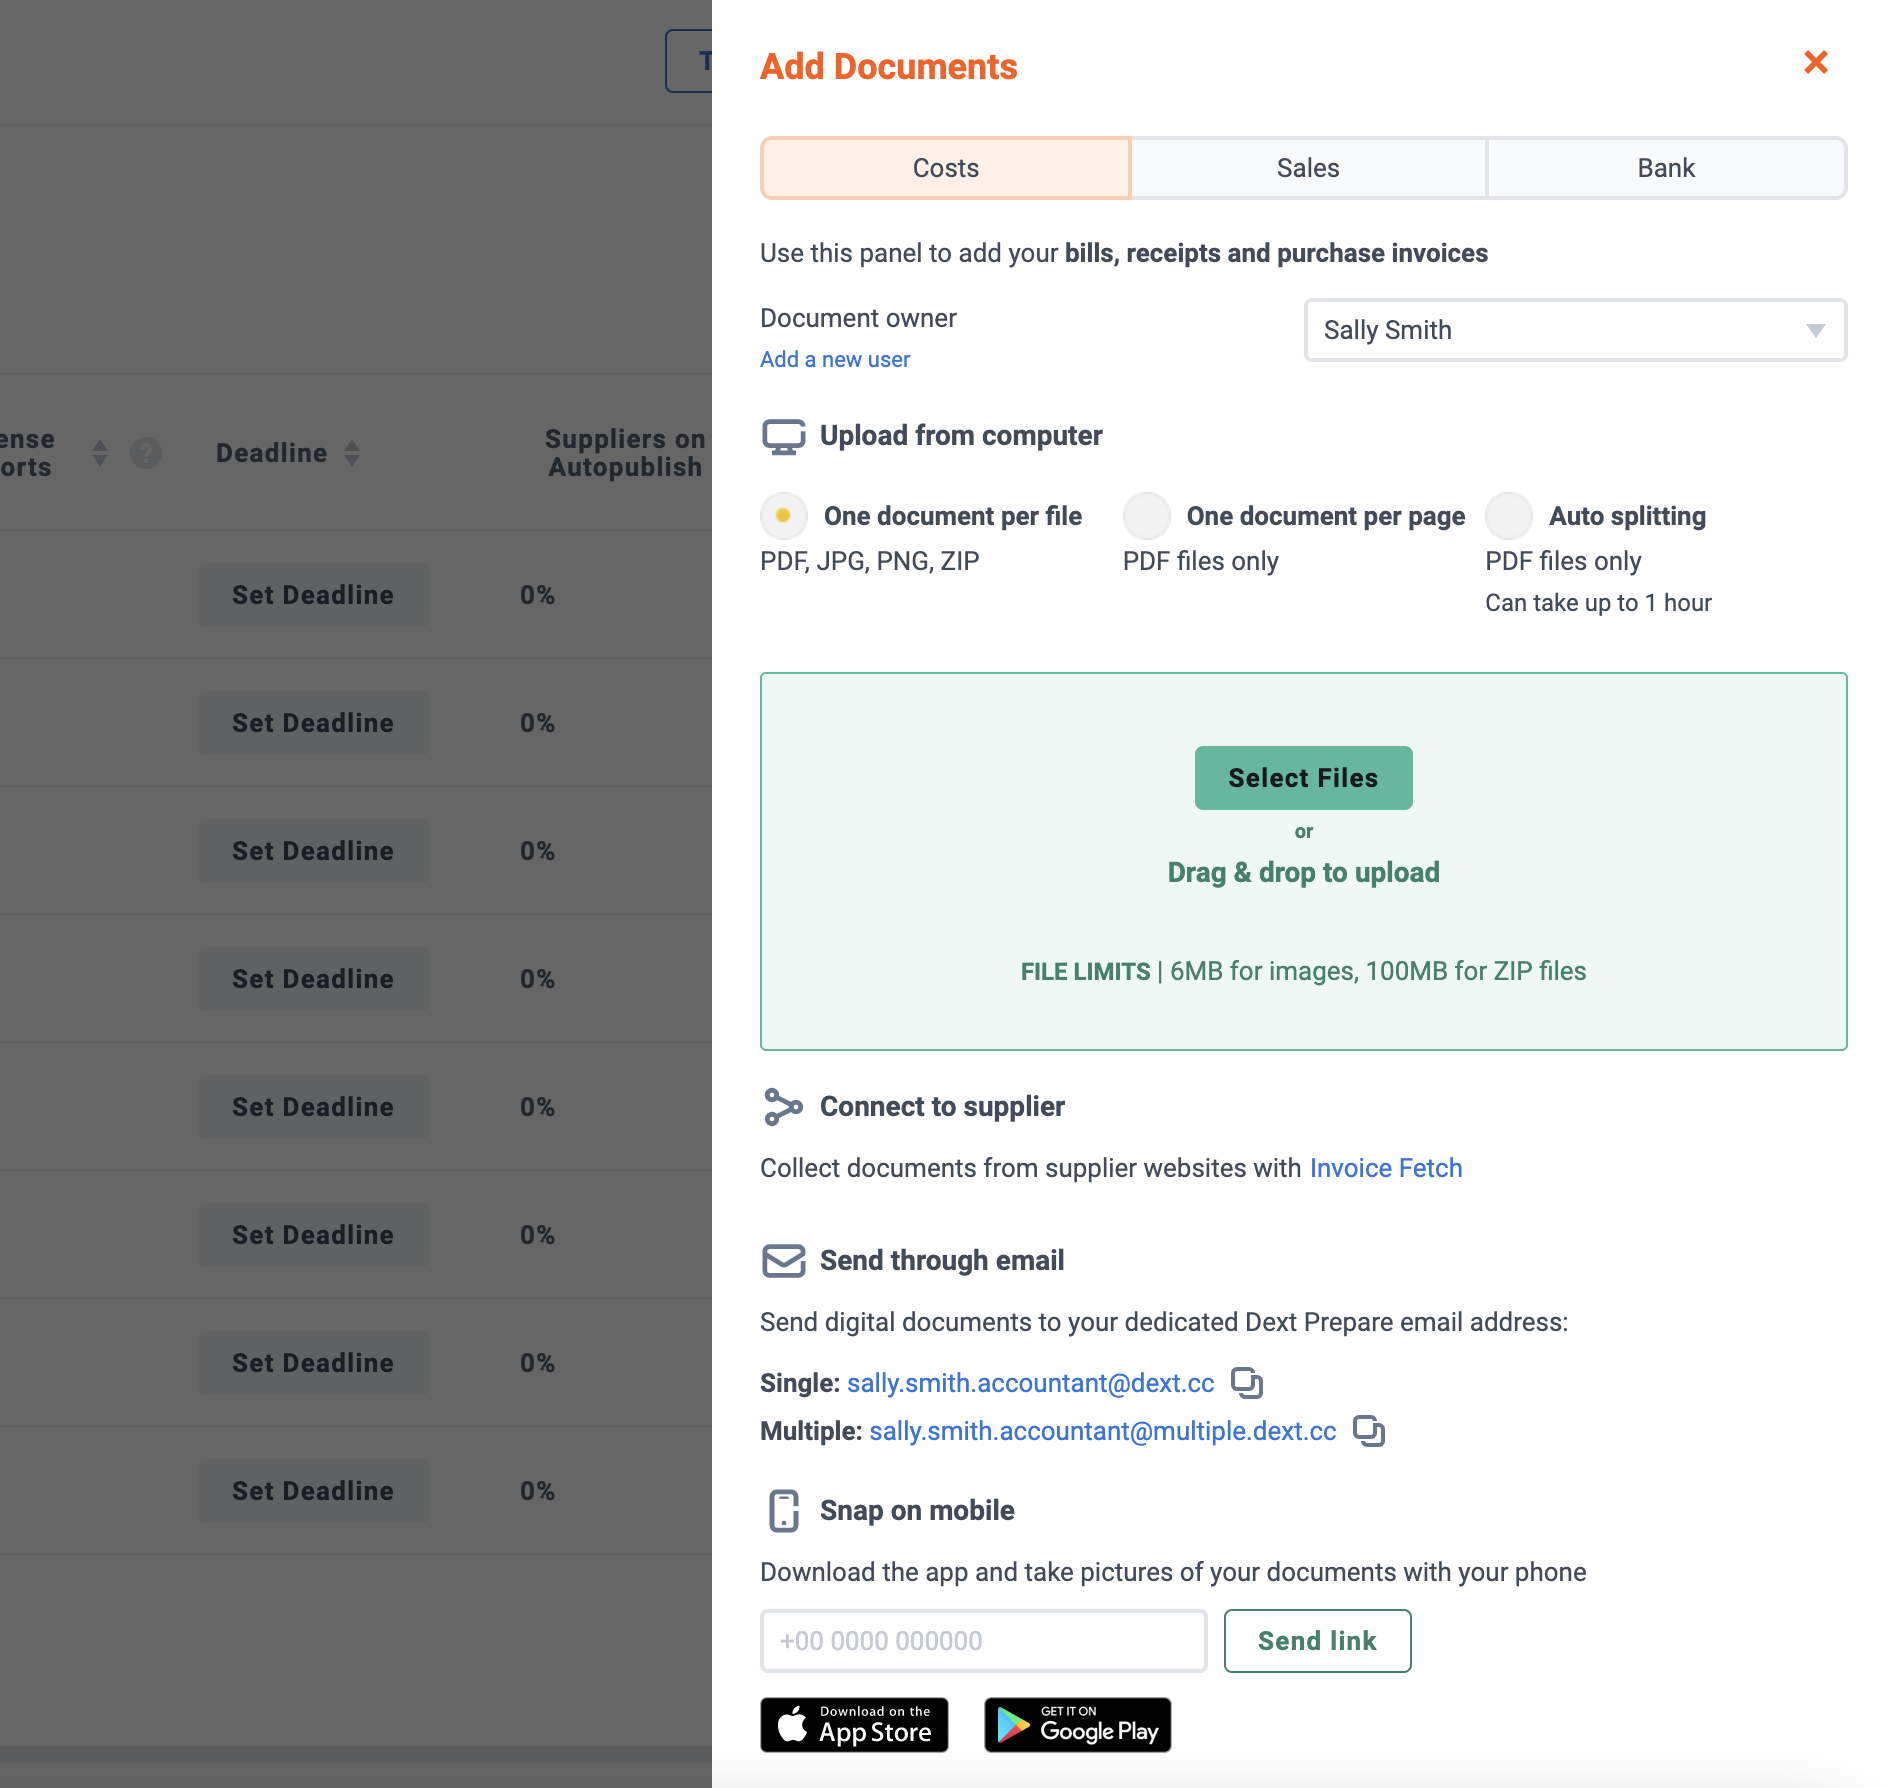
- Next, select a Document Owner. If you don’t want to assign a document owner, for example when uploading a rent expense for which the business itself would be the document owner, select None.

Note: The Document owner can be changed from the Item details page, once the document is uploaded and extracted.
- Beneath Upload from Computer select how the file(s) you’re uploading are formatted:
For Costs items:
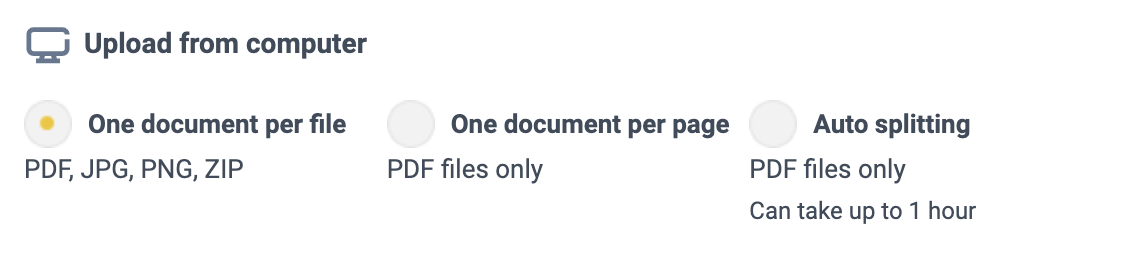
One document per file (PDF, JPG, PNG, ZIP)
Upload a file containing only one transaction. To save time, you can select or drag and drop multiple individual files to be uploaded at the same time.
One document per page (PDF only)
Upload one file containing multiple transactions (of up to 200 pages), with one transaction showing per page.
Note: These transactions will be split per page break, and every page will be considered its own separate item.
Auto splitting (PDF only)
Upload one file (of up to 200 pages) with multiple transactions throughout the pages.
For example, when a document of 10 pages containing 5 transactions is uploaded, Auto Splitting accurately locates and splits out these transactions and sends them to your Costs inbox as 5 individual items.
Note: Auto Splitting is available for uploading Costs documents in all regions on the Optimize plan only, and in France on Streamline and Optimize plans only.
For Sales items:
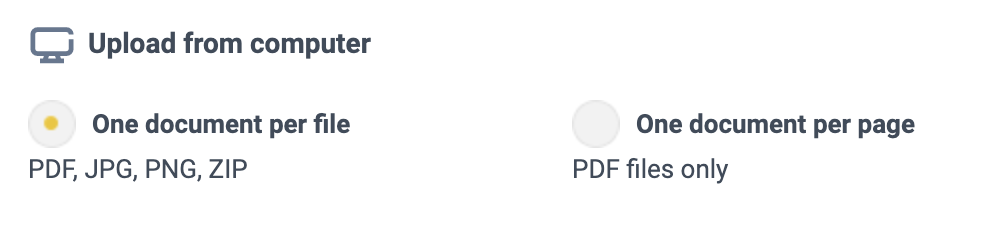
One document per file (PDF, JPG, PNG, ZIP)
Upload a file containing only one transaction. To save time, you can select or drag and drop multiple individual files to be uploaded at the same time.
One document per page (PDF only)
Upload one file containing multiple transactions (of up to 200 pages), with one transaction showing per page.
Note: These transactions will be split per page break, and every page will be considered its own separate item.
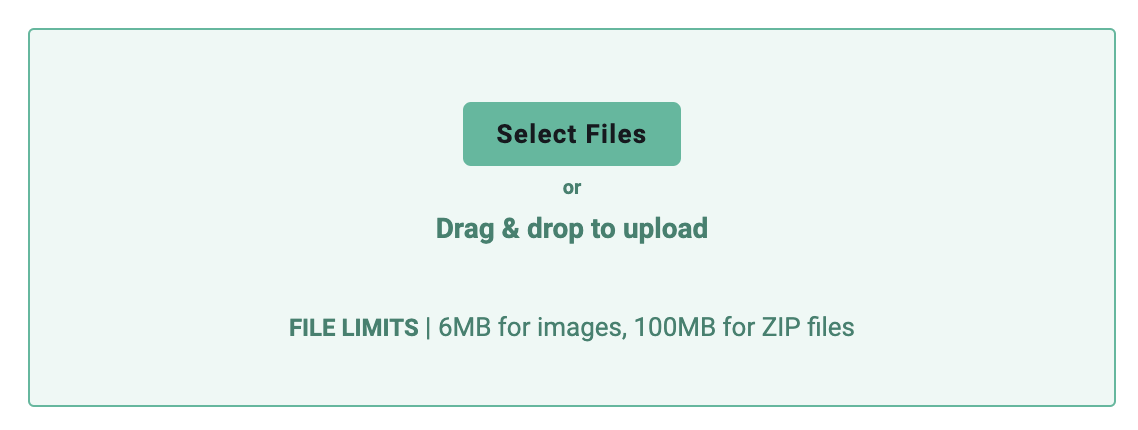
- Next, click the green Select Files button to choose the files to upload, or drag and drop the file(s) into the green box.
- You will then see the progress of the item being uploaded and will be notified if the upload has been successful or not.
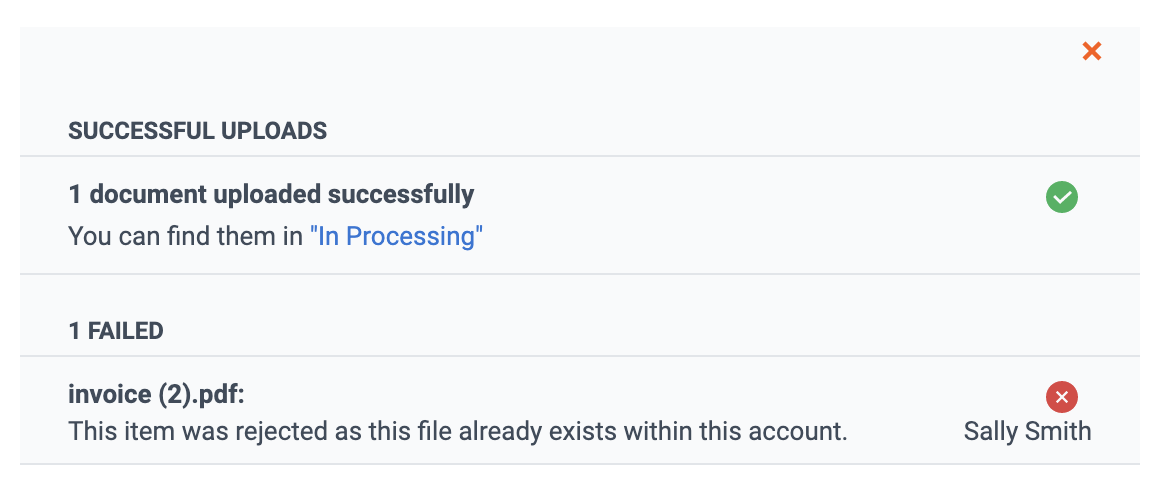
Note: If the document has already been added to your account the upload will be rejected. This is to avoid having duplicate entries of the same transaction in your Dext prepare account.
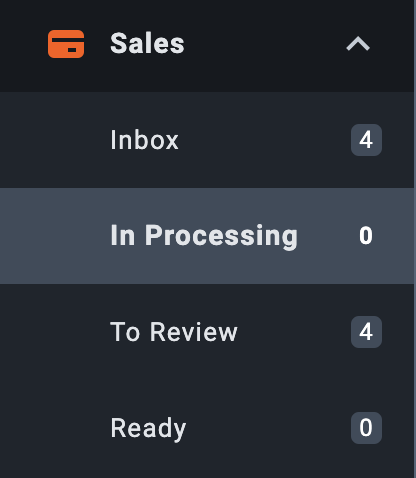
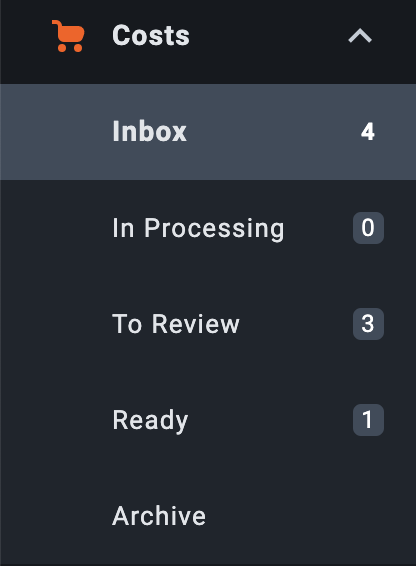
- If the upload is successful, the item will then go through the extraction process and can be found in the In Processing section of the Costs or Sales workspace in the sidebar.
Where Do Costs & Sales Items Go Once They’re Added?
During extraction
Items can be found in the In Processing section of the costs or sales workspaces in the sidebar.
Once extraction is completed
Item can then be found in the Inbox of the Costs or Sales workspace.
Note: If you can’t find a document after it has been uploaded, it may mean that the item is a duplicate of an item already added to your Dext Prepare account and been automatically deleted. This will happen when the automatic duplicate setting is switched ON. If this is the case the item can be found by going to My Profile in the sidebar > Submission History. See more about duplicate documents here. And see how to use the Submission History page here.